
#74: Calibration testing procedures
For many OEM and general temperature control applications it is sometimes desirable to test sensors before being placed into service, or to conduct routine checking while they are in service.
Accordingly, recommended procedures are presented to allow easy checking with commonly available equipment. However, prior to testing, it is important to understand what indications an actual IRt/c failure might cause.
Factory Calibration
The pre-calibrated IRt/c sensors (models without the “A” suffix that indicates user adjustability) are calibrated under conditions that optimize performance in actual use: target emissivity = 0,9 (a good general value for non-metals), and ambient temperature elevated to approximately 1/4 of the elevation of target temperature above room temperature (accurately simulates the effect of reflected energy). Since this type of test would require specialized devices, the procedures outlined have test standards that are slightly different, since they use blackbodies, or test surfaces/ambients whose properties vary to some extent.
What to Look For When Testing
Open Circuit: An open circuit (resistance > 15 KW) indicates a broken wire, and open circuit detection systems will perform normally to detect it.
No Response to Thermal Radiation: Sensor reads ambient temperature accurately, but does not respond when pointed at a hot target. This fault is similar to a short circuit with an ordinary thermocouple, in that the circuit is complete, but is measuring the ambient temperature at the short, and not at the measuring junction. For the IRt/c, this fault is the same as if the sensor were covered with foil, thus blinding it.
Sensor Reads Low: There are only two ways an IRt/c can shift after factory calibration: the lens becomes dirty; or the sensor loses its hermetically sealed Xenon gas.
- If the lens becomes dirty, the signal loss is directly proportional to the amount of dirt on the lens. Infrared energy is a form of light and therefore the situation is similar to ordinary window glass becoming dirty and blocking out sunshine. If considerably dirty before cleaning, the window will let more light through after cleaning, thus increasing the signal. If it was already clean, additional cleaning doesn’t let any more light through, and the signal remains the same.
- If the durable IRt/c hermetic seal somehow fails, the Xenon gas will immediately escape. For even a small leak, the Xenon will escape quickly, within seconds. It is a “fail-safe” design. The Xenon gas will not leak gradually. If this occurs, the mV output sensitivity will immediately drop to approximately 50% or less of normal signal. For example, if a type K-180F/90C sensor looks at a high emissivity 100°C (212°F) surface and reads correctly on a thermocouple meter, or gives you 3,3 mV on a DVM, then the sensor is within specifications. If the signal is only approximately 1,7 mV, or reads in the neighborhood of 60°C (140°F) with a thermocouple meter (and the lens is clean), the fail-safe gas seal has been compromised. The fail-safe feature is quite important, since a breach of the sensor gas seal would permit contaminants to enter the sensitive detection system and cause unpredictable drift.
Conducting Pass/Fail Testing
For your convenience, 100°C (212°F) is ecommended as a test target temperature, even though it might be outside the 2% linear range of the IRt/c being tested, since the strict repeatability of the IRt/c permits it to be tested at any temperature within its specified range. A digital volt meter (DVM) with at least 0,1 mV resolution is recommended instead of a thermocouple readout, since the DVM will be faster, and will not generate a leakage current that can cause readings to vary from sensor to sensor due to resistance variations. An electronic ice point reference is desirable, but not necessary for pass/fail testing.
Equipment
Best: Accurate Blackbody at 100°C (212°F).
Good Alternative: Pot of boiling water.
Procedure
Make sure the sensor window is clean. If it is not, then clean with a mild solvent such as alcohol and wipe dry. Clip the DVM test leads to the IRt/c and point at the target, bringing the IRt/c as close as possible to be sure that the IRt/c sees only the target, taking care that the clip lead connections (the effective cold junctions) remain at room temperature. Immediately read the DVM for the correct reading. For details of test set-up for the boiling water, see Tech Note #75.
In-Service Inspection Methods
Measure the surface temperature of the target (with the target at normal operating temperature) with a Microscanner D-Series infrared thermometer. Make note of the temperature. Check the IRt/c display device and make sure the reading reproduces the original value that was obtained at installation calibration. If the IRt/c reading is incorrect, clean the lens with a cotton swab and alcohol (or similar cleaner) and recheck the display. If the reading is significantly lower, the fail-safe Xenon charge has esca ped, indicating that the sensor should be replaced.
Calibration Values
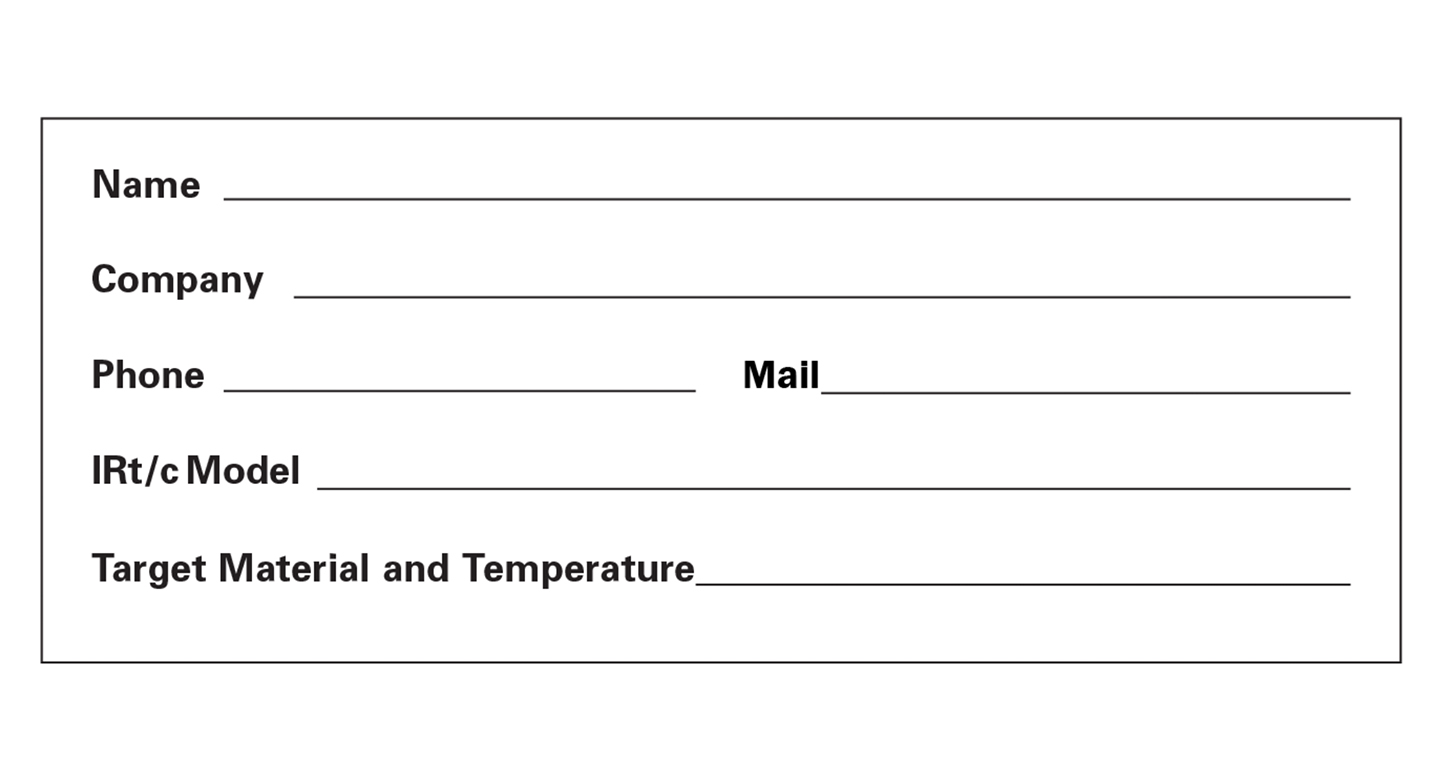
For specifications for the mV signals that should be obtained for the test conditions obtained above, for any given model IRt/c, please fill in the data below, and mail to CleverIR: info@cleverir.com. The specifications will be return mailed to you.
.png)